Fotufilm
Open source · Swift · AGPL-3.0

It doesn't apply a look. It develops.

Most film simulation is a LUT — a curve pushed onto display values until the result resembles a photograph of a photograph. Fotufilm instead models the chain of physical processes between scene light and a finished print: spectral exposure, lens flare, scattering inside the emulsion, halation off the film base, development inhibitors bleeding between layers, the characteristic curve, grain, and the dyes' own absorption.

Grain, halation and colour crossover aren't painted on. They fall out of the physics, which is why they respond correctly to exposure, resolution and scene content.

View on GitHub How it works iOS app — coming soon

Before and after

One frame straight out of a digital camera, then the same frame developed four times. Nothing was graded or retouched in between — the only instruction given was the name of the stock.

Looking up at the Harbour Centre tower past a hanging basket of red flowers against a clear blue sky, straight out of the camera.
Before. Straight out of the camera.
The same frame developed on PRO 400H: the sky is cooler and softer, the highlights on the white globes roll off instead of clipping, and the reds shift slightly toward pink.
PRO 400H. Colour negative.
The same frame developed on PRO 160NS: lower contrast than PRO 400H, with the sky held slightly deeper and the reds a touch more restrained.
PRO 160NS. Colour negative.
The same frame developed on Kodachrome 64: markedly more contrast than either negative, with a deep saturated sky and the red flowers pushed to their most vivid.
Kodachrome 64. Colour reversal.
The same frame developed as black and white: the blue sky falls to a mid grey, the flowers read almost black, and grain is visible across the sky.
Monochrome. Black & white negative.

Look at the white globes on the lamp: their highlights roll into the film's shoulder instead of clipping flat. The two colour negatives differ only in contrast and how far the reds sit back — that separation is colour crossover, and it falls out of the three emulsion layers disagreeing about the same light rather than a hue knob turned somewhere. Kodachrome stands apart from both because it is a reversal stock: it develops straight to a positive, and its layers run a gamma near three where a colour negative runs about six tenths, which is the whole of why the sky deepens and the reds intensify. The black and white frame comes from the same engine with one dye layer instead of three, which is why the red flowers go nearly black while the blue sky stays mid grey, exactly as an unfiltered panchromatic film renders them. It uses example-monochrome-100, a synthetic pack — plausible textbook parameters rather than a measurement of any real emulsion.

Grain has a size, not a setting

A grain clump has a physical diameter and an areal density on the negative, so a smaller gauge enlarged to the same picture shows coarser grain — the clumps are the same size, there are just fewer of them across the frame. Below is one sky, developed on PRO 400H at three gauges, shown at 1:1 pixels. Nothing else changed.

A 1:1 crop of sky on 4x5 large format: essentially smooth, with no grain visible.
4×595 mm frame
The same sky on 35mm still film: a faint, fine texture is visible.
35mm24 mm frame
The same sky on 16mm: clearly grainy, with visible clumping across the whole crop.
16mm7.4 mm frame

The 16mm frame is a third the height of the 35mm one, so every clump is enlarged more than three times as much to fill the same picture. That is the whole mechanism — no grain texture is composited on, and no setting was touched between these three.

Halation comes off the back of the film

Light that the emulsion misses crosses the base, reflects off its rear surface and exposes the emulsion again a little way out. Red survives that round trip best, so bright edges bleed warm. Here it is on the lamp globes, at 16mm, with grain switched off so only the glow moves.

A 1:1 crop of white lamp globes against dark ironwork with halation disabled: the dark metal stays dark and edges are crisp.
Halation off--halation 0
The same crop with halation raised: a warm glow spreads from the bright globes into the dark ironwork, lifting and warming it.
Halation ×6--halation 6

Turned up six times, because this source is an ordinary JPEG: its highlights were already clipped by the camera, so there is little of the above-white energy that drives halation on real film. At the stock's own strength the effect measures three times stronger in red than in blue — correct, but too subtle to see at this size. Feed the engine raw and it has the headroom to do this on its own.

Inside the app

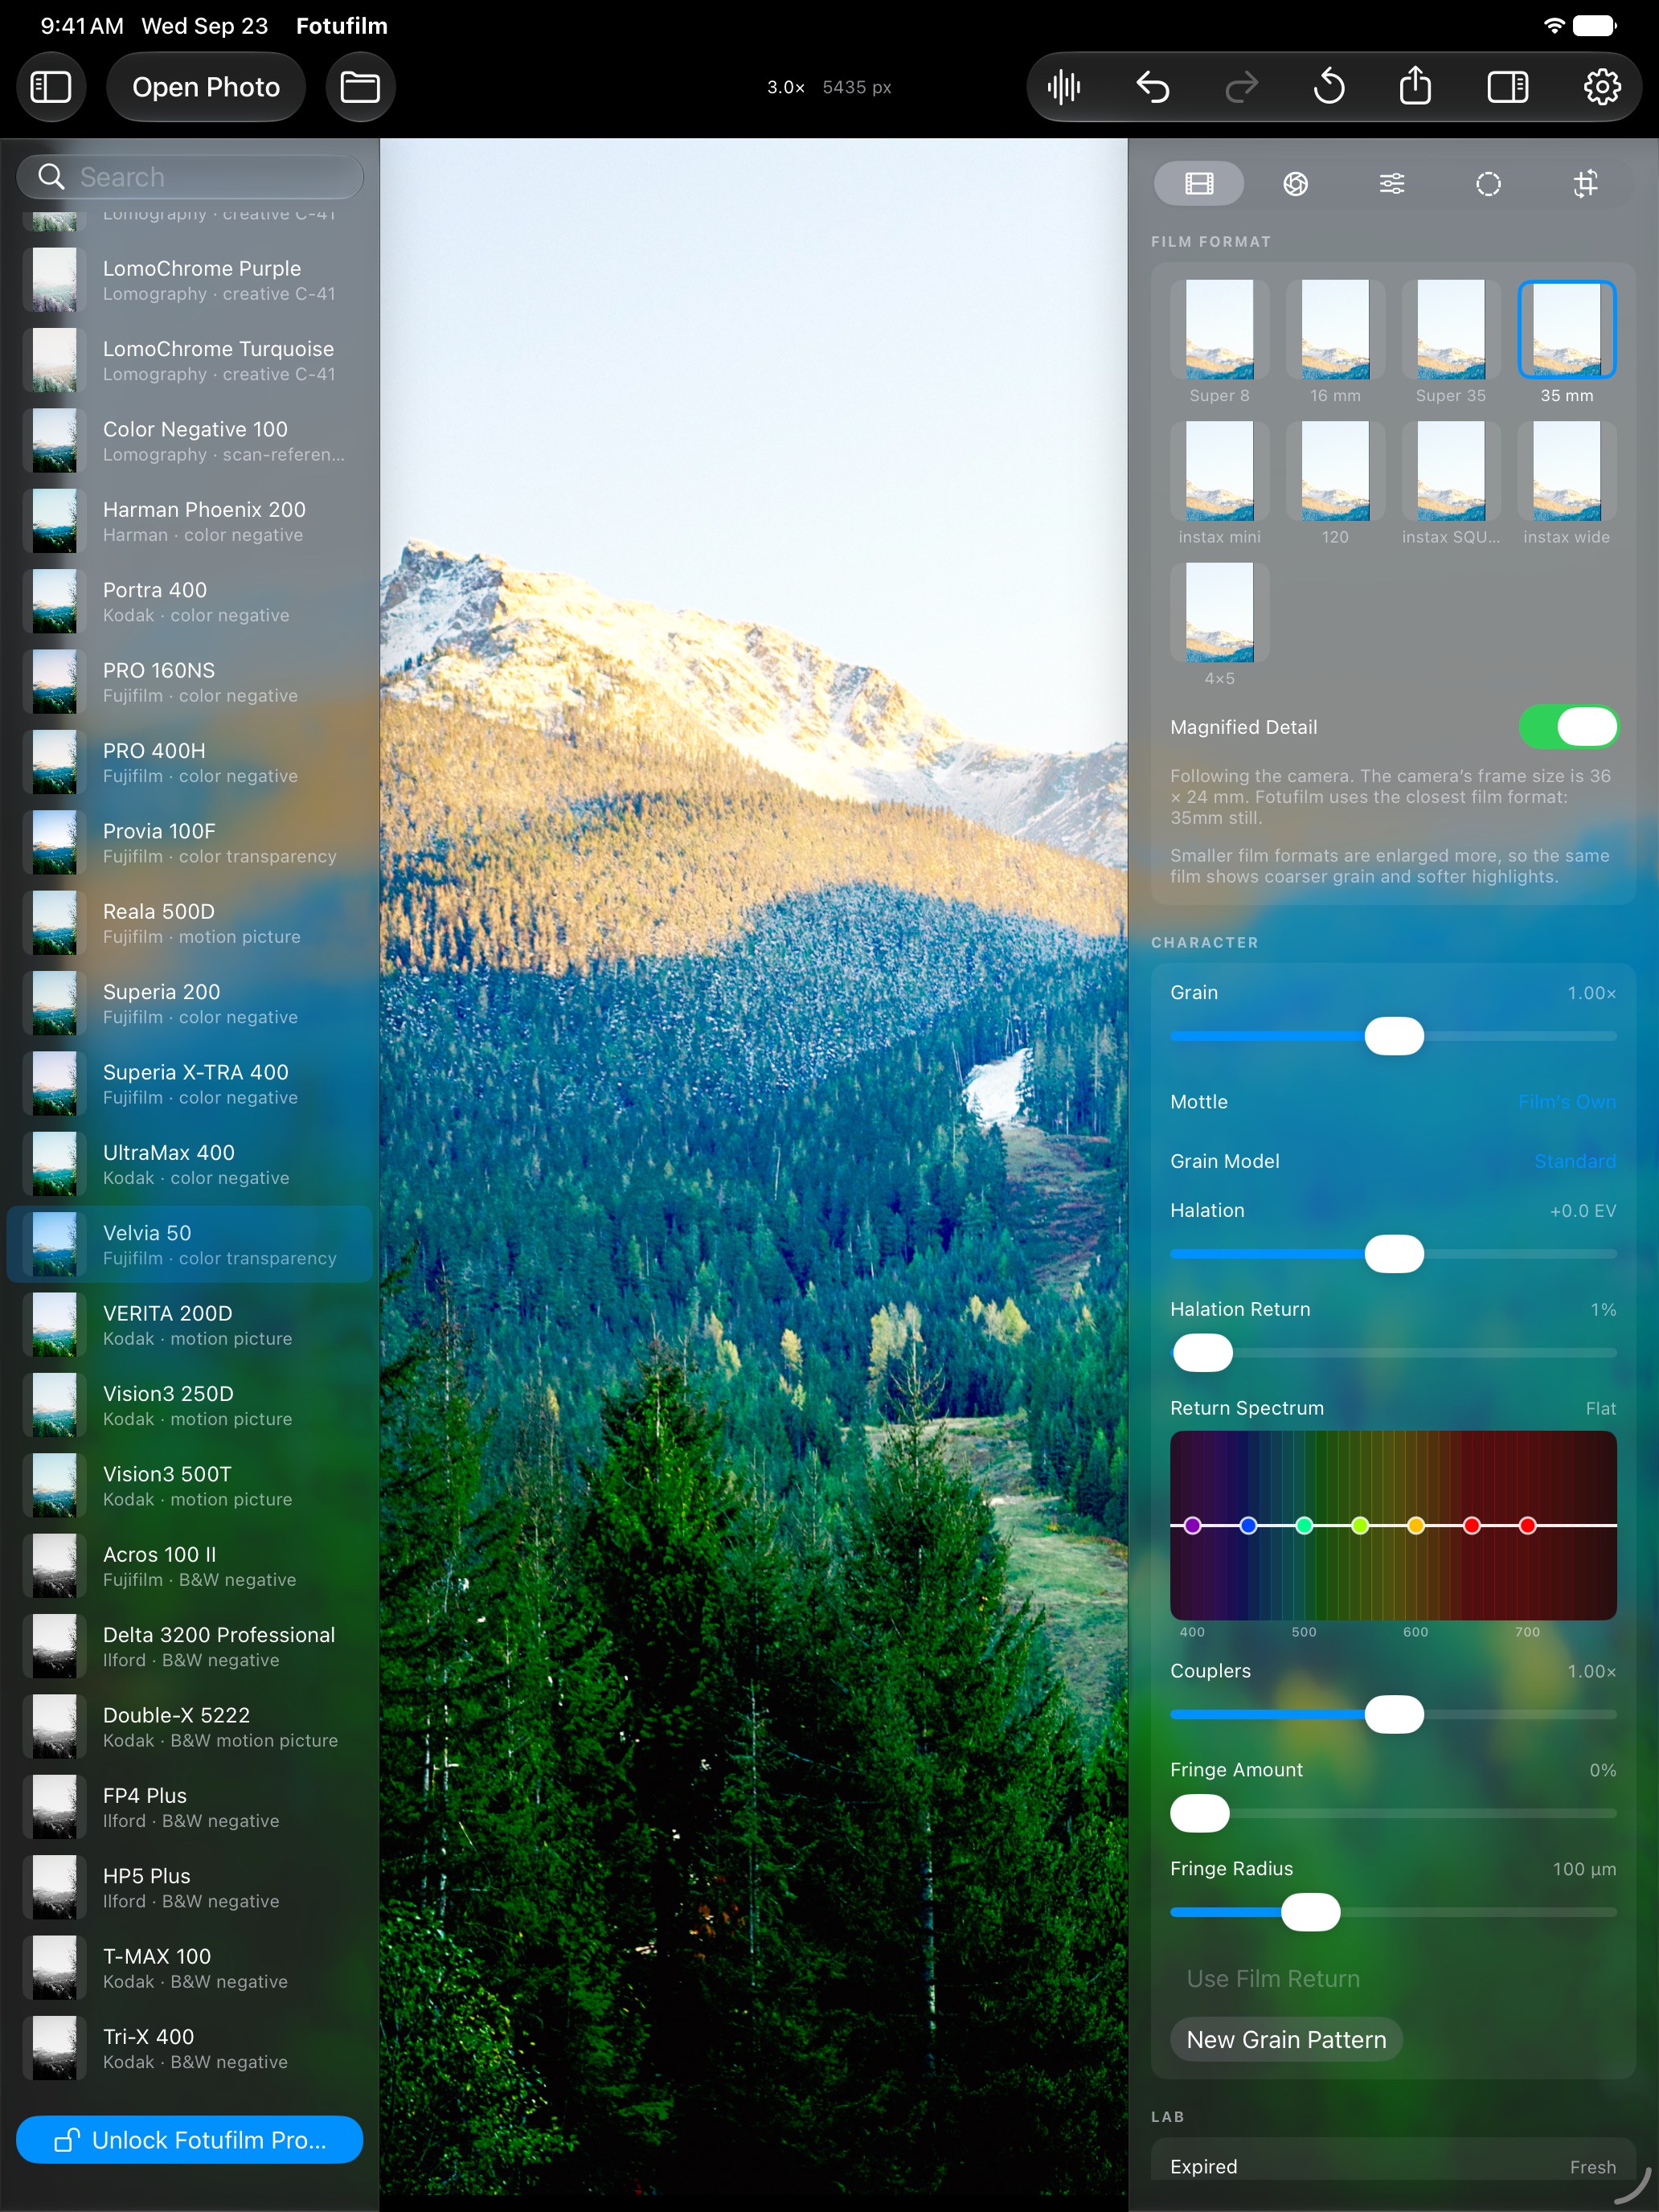
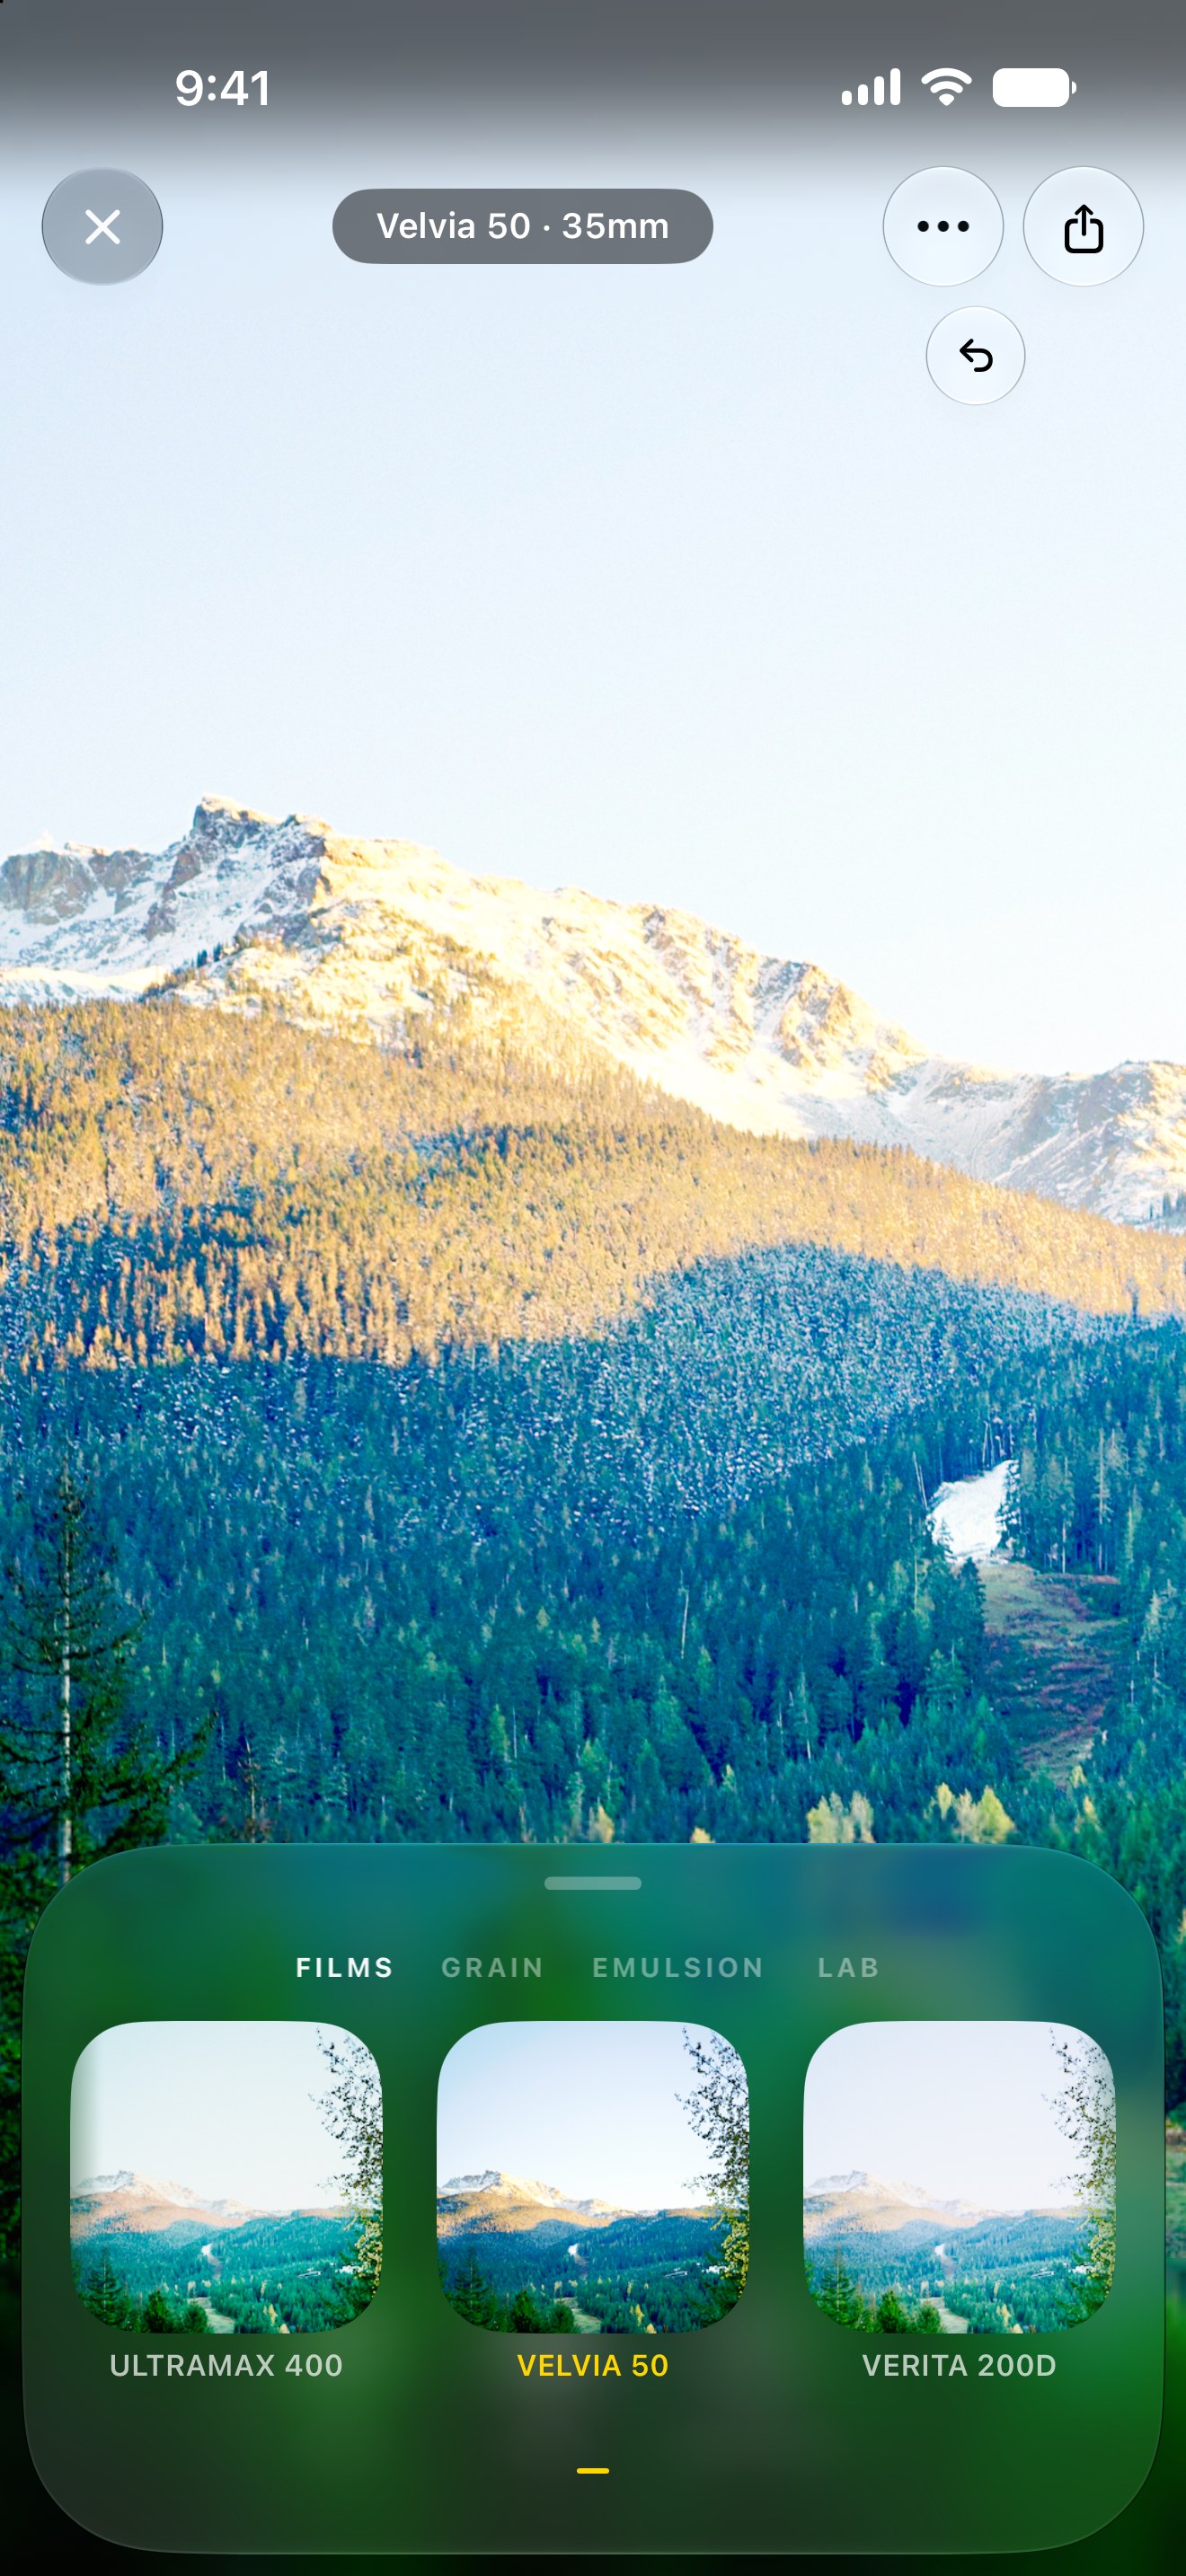
Pick a frame, pick an emulsion, and adjust what the film itself does. The whole engine runs on the device — the stock strip renders every thumbnail live, from your own photograph.

The Fotufilm library screen: a grid of photographs to choose from, with camera, video, import and menu buttons along the top.
Librarypick a frame
The Film tab with Kodachrome 25 selected, showing the developed photograph above a row of stock thumbnails each rendered from the same frame.
Filmevery stock, rendered live
The Character tab, showing a grain control alongside halation, coupler and print controls.
Charactergrain, halation, couplers

Real screenshots, and the render is the same engine as everywhere else — the Kodachrome 25 frame in the middle is the one the command line produces from that photograph.

Eight stages

Scene-referred linear RGB goes in. Each stage models one physical process, in the order the light actually meets it.

  1. Exposure. Smooth RGB→reflectance reconstruction, then the stock's per-layer sensitivities across 380–780 nm integrated under D65.
  2. Flare. The taking lens scatters about a percent of total scene light across the frame. Sensitometric curves are measured flare-free; camera images are not.
  3. Emulsion diffusion. Light scatters inside the emulsion pack before the latent image forms — the film's own MTF. Deeper layers are softer.
  4. Halation. Light the emulsion misses crosses the base, reflects off its rear surface and exposes again. Derived from Fresnel reflectance and total internal reflection, not a red glow filter.
  5. DIR couplers. Development inhibitors diffuse between layers, giving inter-image colour, and within a layer at edges, giving Mackie lines.
  6. Development. Density as a function of log exposure: an analytic H&D curve, straight-line gamma with a soft toe and shoulder.
  7. Grain. A dye clump has a size and an areal density on the negative, not in pixels, so grain scales physically with output resolution.
  8. Output medium. Beer–Lambert dye absorption. A negative exposes colour paper under an enlarger; reversal film is viewed directly.
# the whole thing, from the command line
brew install halide
swift run -c release filmsim photo.dng out.png --stock kodachrome64
swift run -c release filmsim render.exr out.tif --depth 16

Stocks are data, not code

A stock's numbers aren't compiled in. They arrive at run time as a JSON pack, so the model and the emulsions it renders stay separable — any stock with a published datasheet can be calibrated from scratch using the pipeline in tools/calibration/, which ships with the engine.

  • kodachrome25
  • kodachrome64
  • kodachrome200
  • pro400h
  • pro160ns
  • example-negative-400
  • example-monochrome-100
Cirrus clouds lit by a low sun, developed on Kodachrome 64: warm and saturated.
Kodachrome 64
A smooth dusk gradient from blue to a warm horizon, developed on PRO 400H: cool, airy and fine grained.
PRO 400H
A clear blue sky falling to a pale warm horizon, developed on Kodachrome 25: dense blue, very fine grain.
Kodachrome 25

Three skies photographed for MUA Studio, one stock each — a gradient is the hardest thing to render without banding or a colour cast, which makes it a good test of a pack.

The five calibrated packs were traced from the manufacturers' own sensitometric and spectral plots. All five are discontinued products, and the publications themselves are only ever fetched, never redistributed. The two example- packs are synthetic — plausible parameter sets, not measurements of anything — so every branch of the model can be exercised without leaning on a real emulsion.

Four front ends, one engine

The FilmSim Swift package, with a Halide kernel shared by every surface and a Metal path for real time.

iOS — Fotufilm

A live film camera that develops the viewfinder in real time, plus offline video development. Everything runs on the device.

macOS

Stills and video through the same engine, decoded and encoded with AVFoundation.

Command line

filmsim takes JPEG, PNG, HEIC, 16-bit TIFF, OpenEXR, gain-map HDR and camera raw.

Web darkroom

A local bench for pulling sliders — exposure, grain, halation, couplers — against a live develop.

Licence

Fotufilm is free software under the GNU Affero General Public License, version 3. You may use, study, modify and redistribute it; if you run a modified version as a network service, the AGPL asks that you offer that version's source to its users. Third-party components and their terms are listed in THIRD_PARTY_NOTICES.md.